
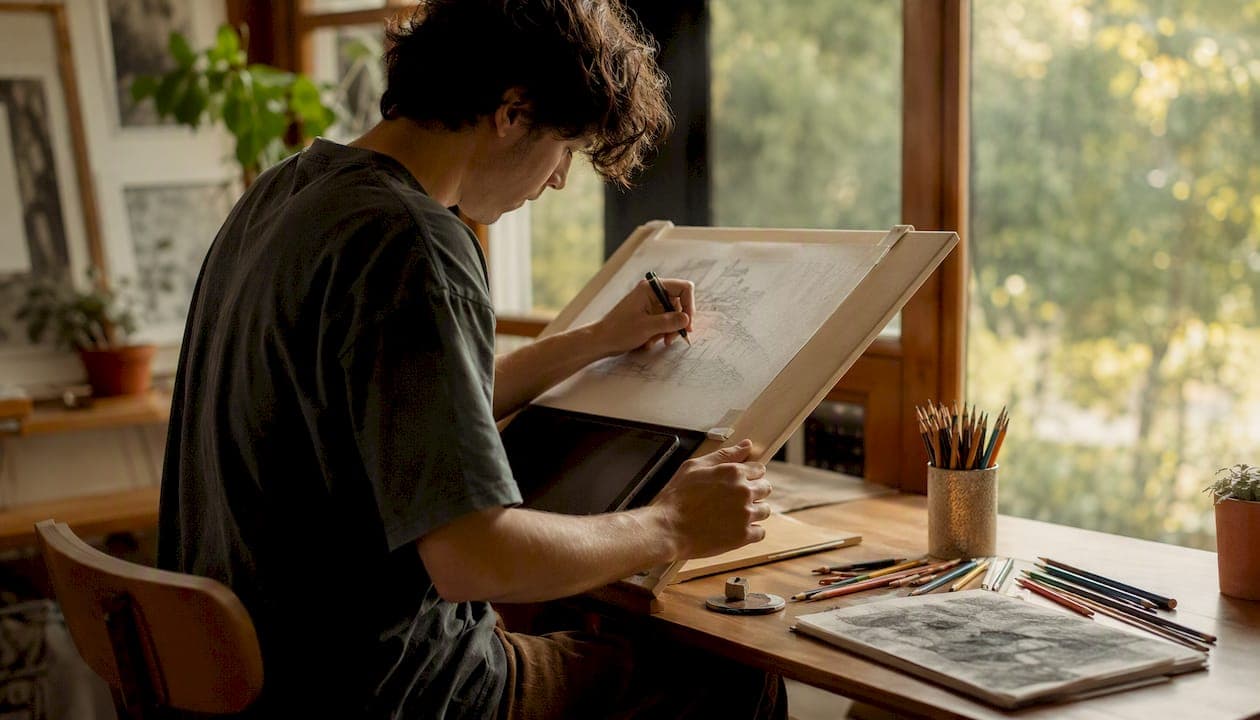
Sketch to image AI takes a rough drawing, hand-drawn or digital, and turns it into a polished, detailed image while keeping your original composition intact. You upload the sketch, describe what you want, pick a style, and get a result in seconds instead of hours.
Here's the fastest path to a usable output:
- Prepare the sketch. High contrast, clean lines, decent resolution.
- Pick a style and write a short prompt. Tell the model what you want, not just what you drew.
- Generate, then iterate. Adjust the strength or creativity setting and run it again until the output matches your intent.
If you want to see this in action without installing anything or reading a manual first, Pictura AI runs the whole loop for free during its beta, using multi-stage diffusion models built to hold onto your layout while adding realistic or stylized detail.
Pro Tip: Run your first pass at low resolution to check composition and color before committing to a full-quality render. It saves you from waiting on a slow, high-detail generation that turns out to have the wrong pose entirely.
Key Takeaways
Sketch to image AI works because it separates structure from surface, keeping your composition intact while a diffusion model fills in texture, lighting, and color based on your prompt.
| Point | Details |
|---|---|
| Core function | Sketch-to-image AI preserves your composition and proportions while generating new surface detail. |
| Fastest starting workflow | Prep a high-contrast sketch, write a concrete prompt, generate at low resolution first, then upscale. |
| Input quality matters most | Clean lines, good contrast, and tight cropping improve output reliability more than prompt tweaking alone. |
| Common fixes | Mask problem areas, lower the strength slider, or regenerate rather than repeating the same failed prompt. |
| Recommended next step | Pictura AI offers free, unlimited access during its beta with multi-stage diffusion and a documented model. |
Useful Sources for Going Deeper
- Designkit's sketch-to-image guide walks through a basic upload-to-generate workflow with practical examples.
- Comics Maker's line art colorizer offers a useful reference for line protection and palette-guided colorization specifically.
Table of Contents
- How Does Sketch to Image AI Actually Work?
- What Are the Steps to Convert a Sketch Into an Image?
- What Makes a Sketch Convert Well?
- Which Style Controls Should You Use First?
- Where Does Sketch to Image AI Fit Into a Creative Workflow?
- What Goes Wrong and How Do You Fix It?
- How Much Does Sketch to Image AI Cost, and Who Owns the Output?
- Why Try Pictura AI for Your First Sketch Conversion?
- What Actually Matters Once You Try This Yourself
- Ready to Convert Your First Sketch?
How Does Sketch to Image AI Actually Work?
The short version: your sketch becomes a set of visual instructions, and a diffusion model fills in the rest based on those instructions plus whatever text prompt you provide.
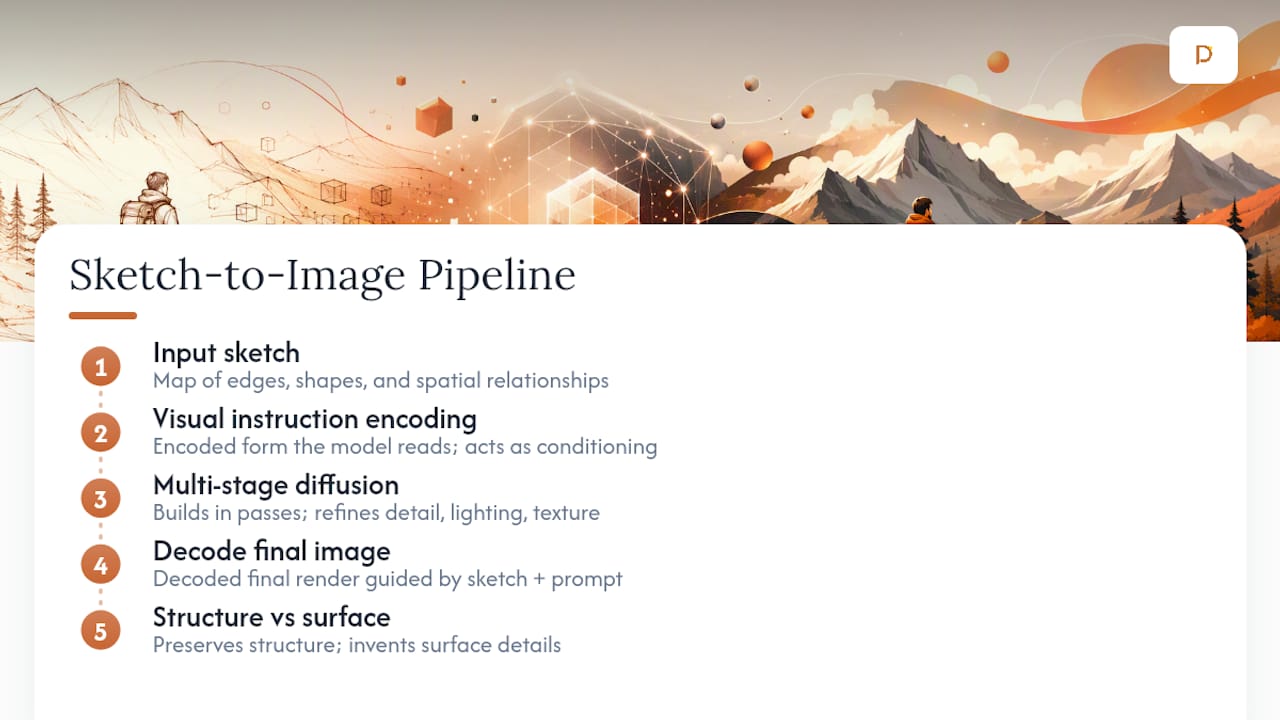
Technically, the process runs through a few stages. The input sketch gets encoded into a form the model can read, essentially a map of edges, shapes, and rough spatial relationships. That encoding acts as conditioning, steering the generation process so the output doesn't stray from your original layout. From there, a diffusion model, or in more advanced systems a multi-stage diffusion pipeline, builds the image up in passes, refining detail, lighting, and texture at each stage before decoding a final image.
The distinction that matters most for creative work: the model tends to preserve structure, meaning proportions, composition, and the placement of your subject, while it invents surface details like texture, lighting, and color. That's why a stick-figure sketch of a chair will come back as a chair in roughly the same pose and position you drew, but the wood grain, the fabric, and the shadows are the model's interpretation, not yours.
Multi-stage diffusion has become a common way to raise fidelity in image generation, refining an image across sequential passes rather than committing to detail in one shot. Pictura's own model documentation frames its pi-1.5-turbo model around exactly this approach, and the company lists adaptive style routing alongside it as a way to steer stylistic consistency without sacrificing speed.
Image-to-image conditioning combined with a text prompt is the standard architecture behind most tools in this category, whether they're built for realistic renders, anime style, or line art colorization. What varies between platforms is how well they balance preserving your input against the freedom to reinterpret it, and that balance is usually a setting you control directly.
What Are the Steps to Convert a Sketch Into an Image?
Getting a usable result on your first try comes down to prep and a tight, deliberate sequence. Skip steps here and you'll spend more time regenerating than you would have spent just doing it right the first time.
Before you upload:
- Scan or photograph your sketch in good, even lighting, avoiding shadows across the paper.
- Crop tightly to the subject so the model isn't wasting conditioning on blank margins.
- If your background is cluttered or the paper has visible texture, remove or clean it up first.
The generation sequence:
- Upload the prepped sketch to your sketch-to-image tool.
- Select a style preset, photo-realistic, watercolor, anime, 3D render, or whatever fits your project.
- Write a concise, concrete prompt describing subject, materials, and mood, not just "make it nice."
- Set your model and creativity/strength level based on how much you want the sketch preserved versus reimagined.
- Generate the image.
- Review the result against your original intent, checking proportions, focal point, and color balance.
- Re-run with prompt edits, a new seed, or an adjusted strength value if something's off.
If your tool supports reference images or masks, use them. A reference image locks in a color palette or mood more reliably than adjectives alone, and color-matching a reference image to your line art tends to produce more consistent results across multiple pages or characters than repeated prompt tweaking. Masks let you protect one part of the sketch, like a character's face, while allowing the background to be reinterpreted freely.
Pro Tip: Run a fast, low-resolution pass first to confirm composition and color direction, then only spend your higher-quality generation budget on the version you actually like. It's the difference between three quick drafts and one wasted final render.
What Makes a Sketch Convert Well?
Not every sketch feeds the model equally well, and the gap between a clean input and a messy one shows up directly in your output quality.
File prep that actually matters:
- Use PNG for line art with transparency or WebP for smaller file sizes; JPG works but can introduce compression artifacts around thin lines.
- Aim for a reasonably high pixel count on the shorter side to provide adequate detail; very small images may result in less accurate detail generation.
- Dark, solid lines on a plain light background read far more reliably than faint pencil marks or a busy, textured paper surface.
- Clean up smudges and stray marks before uploading. Thin or noisy lines reduce the model's ability to preserve your intended contours, which means it may fill gaps with its own guesses about where a line was supposed to go.
Composition choices that pay off:
- Keep your focal subject unambiguous. Two overlapping figures with unclear boundaries confuse conditioning more than a single, clearly bounded shape.
- If something in your sketch is ambiguous, describe it explicitly in the prompt rather than hoping the model reads your intent correctly.
- Use a mask to lock down background elements you don't want touched, especially useful for character sheets where the pose has to stay fixed across variations.
A five-minute cleanup pass with better contrast and a cropped composition will usually do more for your output than any amount of prompt engineering.
Which Style Controls Should You Use First?
Every sketch-to-image platform gives you some version of the same three levers: style preset, strength (or creativity), and reference guidance. Learning how they interact matters more than memorizing any single setting.
Common style modes and when to reach for them:
- Photo-realistic for product mockups, architectural concepts, or anything that needs to look like it could exist today.
- Watercolor or painterly for concept art, mood boards, and early-stage ideation where texture matters more than precision.
- Anime or illustrated for character design and stylized marketing assets.
- 3D render or cinematic lighting for pitch decks and presentations where dramatic depth sells the idea.
The two sliders that control everything else:
- Strength (or creativity) determines how closely the output sticks to your original lines. Lower strength preserves your sketch's structure; higher strength lets the model take more liberties with shape and detail.
- Detail or resolution settings control how much surface texture the model adds, useful to dial down for quick drafts and up for final assets.
A low-strength, photo-realistic combination is the standard setup for product mockups, where you need the model to add material and lighting realism without redrawing your product's shape. A higher-creativity watercolor combination works better for early concept art, where you want the AI to surprise you with mood and atmosphere rather than lock rigidly to your rough lines. Reference images layered on top of either combination push the color palette toward something specific instead of leaving it to chance.
Where Does Sketch to Image AI Fit Into a Creative Workflow?
The tool earns its place wherever a rough idea needs to become something a client, teammate, or audience can actually react to.
Typical uses include concept art for games and film, product mockups for early pitch decks, character design sheets, social media visuals, and mood boards for creative briefs. In each case, the sketch-to-image step sits between raw ideation and a client-facing deliverable. You sketch fast, generate a handful of visual directions, and use those to drive a conversation before anyone commits to full production work.
A workable process usually looks like this:
- Sketch multiple rough concepts quickly, without worrying about polish.
- Generate several visual variants from each sketch to explore different moods or styles.
- Bring the strongest two or three into a client or team review.
- Refine the winning direction with tighter prompts, masks, and reference images.
- Export a production-ready version, or use the AI output as a reference for final manual illustration or 3D work.
A few habits make this smoother in practice. Name your files by sketch version and generation attempt so you can trace back which prompt produced which result. Keep a running note of the prompts and settings that worked, since recreating a good result without that record wastes time. And treat low-resolution passes as disposable, generating several quickly before spending your best-quality render budget on the option you've already chosen.
What Goes Wrong and How Do You Fix It?
Every sketch-to-image tool produces bad output sometimes, and the fixes are usually specific enough that you don't need to guess.
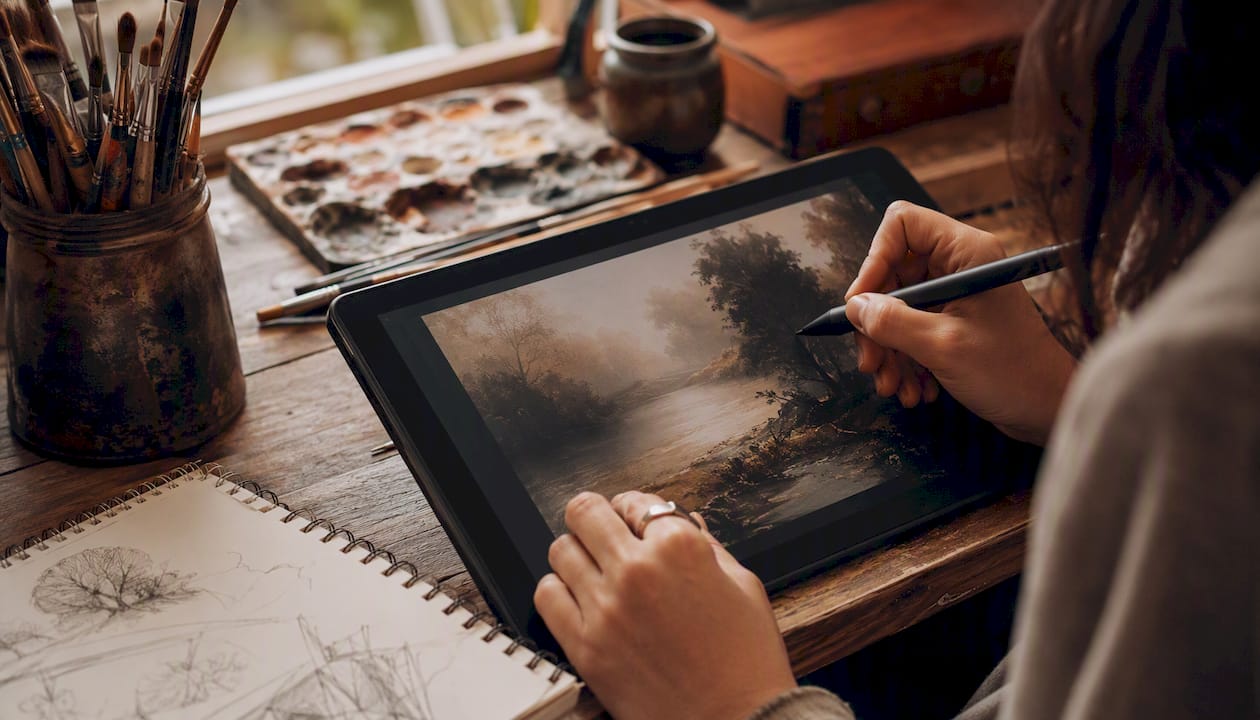
Warped hands and fingers remain one of the most persistent problems in AI image generation broadly, not just sketch conversion, because hands have complex, variable geometry that's hard for a model to generalize. Weird or garbled text inside an image is another common failure, since most diffusion models weren't trained to render legible typography reliably. Inconsistent lighting between a sketch's implied light source and the model's generated shadows, color bleeding across supposed line boundaries, and outright erasure of fine linework under high creativity settings round out the usual suspects.
| Artifact | Likely cause | Recommended fix |
|---|---|---|
| Warped hands or fingers | Complex geometry the model struggles to generalize | Mask the hand region and regenerate that area alone, or lower creativity and simplify the pose in your sketch |
| Garbled or unreadable text | Diffusion models rarely render typography accurately | Add text manually in post, or specify "no text" in your prompt and add it separately |
| Inconsistent lighting | Model invents its own light source, ignoring sketch cues | State the light direction explicitly in your prompt ("soft light from upper left") |
| Color bleeding across lines | Weak line definition or high creativity setting | Increase input contrast, lower strength, or use a line-protection setting if available |
| Erased or faded linework | Creativity set too high, overriding original contours | Lower the strength/creativity slider so the model preserves more of your original lines |
| Duplicated or misaligned elements | Ambiguous composition confusing the conditioning step | Simplify the sketch, clarify the focal subject, or describe it explicitly in the prompt |
Manual touch-up makes sense for small, isolated fixes, a hand, a patch of bad text, one misaligned element. Regenerating the whole image makes more sense when the core composition or mood is off, since patching a fundamentally wrong output usually costs more time than starting over with a clearer prompt.
Pro Tip: When an artifact keeps showing up across multiple regenerations, the fix is almost never "try again." Change the sketch, the prompt, or the strength setting first, because repeating the same input with the same settings tends to reproduce the same flaw.
How Much Does Sketch to Image AI Cost, and Who Owns the Output?
Most tools in this space follow one of three pricing shapes: freemium with a generation credit limit, a flat subscription, or per-image API billing for developers building at scale. Free tiers commonly include no-signup quick trials with a handful of style presets, enough to test the concept before you commit to anything paid.
What to check before you build a workflow around any tool:
- Whether the free tier caps you on resolution, generation count, or available styles.
- Whether a REST API and SDK are available if you need to batch-generate images for a larger production pipeline.
- Rate limits and maximum output size on the API tier, since these directly affect whether the tool fits an agency-scale workflow.
- Who owns the generated image, and whether the platform's terms grant you full commercial rights.
- What the platform's content moderation policy covers, and whether client sketches or reference material get stored after generation.
For a single project or occasional use, a free or low-cost tier usually covers it. Once you're generating dozens of images a week for client deliverables, an API plan tends to pay for itself simply by removing manual upload steps from the process. Pictura AI currently offers unlimited free access during its beta phase, which makes it a reasonable place to test volume needs before deciding whether a paid API plan makes sense for your studio.
Why Try Pictura AI for Your First Sketch Conversion?
Pictura AI is built around exactly the workflow this article describes: upload a sketch, guide it with a text prompt, and get an image that keeps your composition while adding realistic or stylized surface detail.
What you get on the platform:
- Image-to-image conversion combined with text conditioning, so your prompt and your sketch work together rather than one overriding the other.
- Multi-stage diffusion built specifically to raise fidelity across generation passes instead of committing to detail in a single step.
- Style presets and strength sliders to control how much of your original sketch survives into the final output.
- Reference image support for locking down color and mood.
- A REST API and developer SDKs for teams that need to generate at scale rather than one image at a time.
On the trust side, Pictura runs on the pi-1.5-turbo model, documented openly rather than treated as a black box, and results typically land in seconds. The platform includes built-in content moderation and offers unlimited free access during its current beta, meaning there's no upfront cost to testing whether it fits your workflow.
| Point | Details |
|---|---|
| Core capability | Combines image-to-image and text-to-image so a sketch and a prompt shape the output together. |
| Model | Runs on the pi-1.5-turbo model with documented, transparent specifications. |
| Fidelity approach | Uses multi-stage diffusion to refine detail across passes rather than in one step. |
| Access | Free, unlimited use during the current beta phase, with a REST API for developers who need scale. |
If you're ready to run your own sketch through it, the Pictura studio is the fastest place to start.
What Actually Matters Once You Try This Yourself
Most guides to AI image tools oversell the prompt and undersell the sketch. That's backward. A vague prompt on a clean, high-contrast sketch will usually beat a brilliant prompt on a smudged, low-resolution scan, because the model can only preserve the structure you actually gave it. If there's one piece of conventional advice worth ignoring here, it's the obsession with prompt engineering as the main lever. The sketch is the lever. The prompt just tells the model what to do with what you gave it.
The other thing worth saying plainly: iteration is not a failure state. New users tend to treat a mediocre first result as a sign the tool doesn't work, when it's really just a sign the first strength setting or prompt was off. The fastest creatives using these tools run three or four low-resolution passes before committing to anything final, and they treat each pass as information rather than a wasted attempt.
Where I'd push back hardest against the typical framing of this technology is the idea that it replaces the sketch itself. It doesn't. The sketch is still the decision that matters most, where the subject sits, what the composition emphasizes, what's ambiguous versus clear. The AI is a very fast, very capable renderer sitting downstream of that decision. Treat it that way and you'll get consistently better results than someone hoping the model will fix a weak idea.
Ready to Convert Your First Sketch?
You've got the workflow, the input rules, and the fixes for the most common problems. The only step left is running an actual sketch through a real tool, and Pictura AI is built to make that first attempt fast rather than fussy.
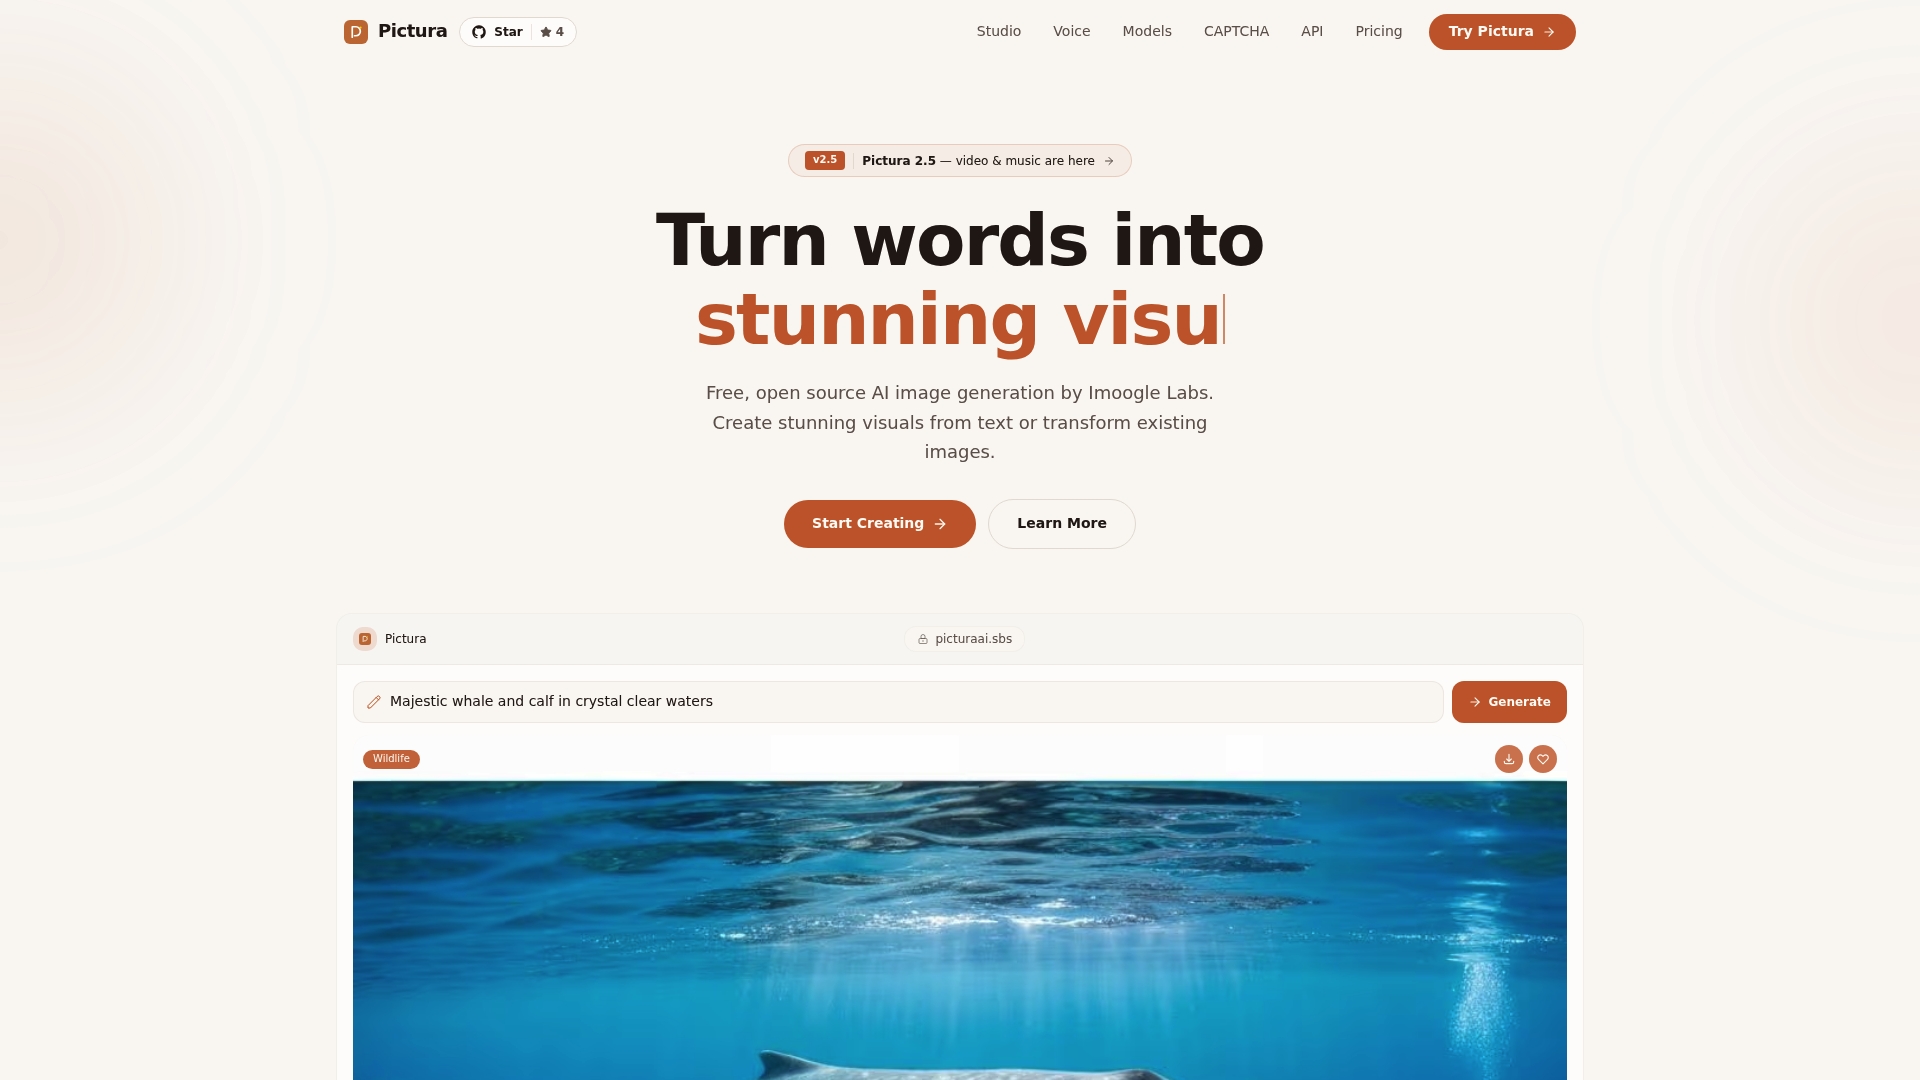
Upload a sketch, pick a style, and generate your first image free during Pictura's current beta, no credit card, no commitment, just a result in seconds. The Pictura AI landing page walks you through your first conversion, and if you're planning to generate at volume for client work or a larger production pipeline, the REST API and developer SDKs are ready when you need to scale past one-off images. Start with a single sketch, see what the model does with it, and decide from there whether it earns a permanent spot in your workflow.